[ad_1]
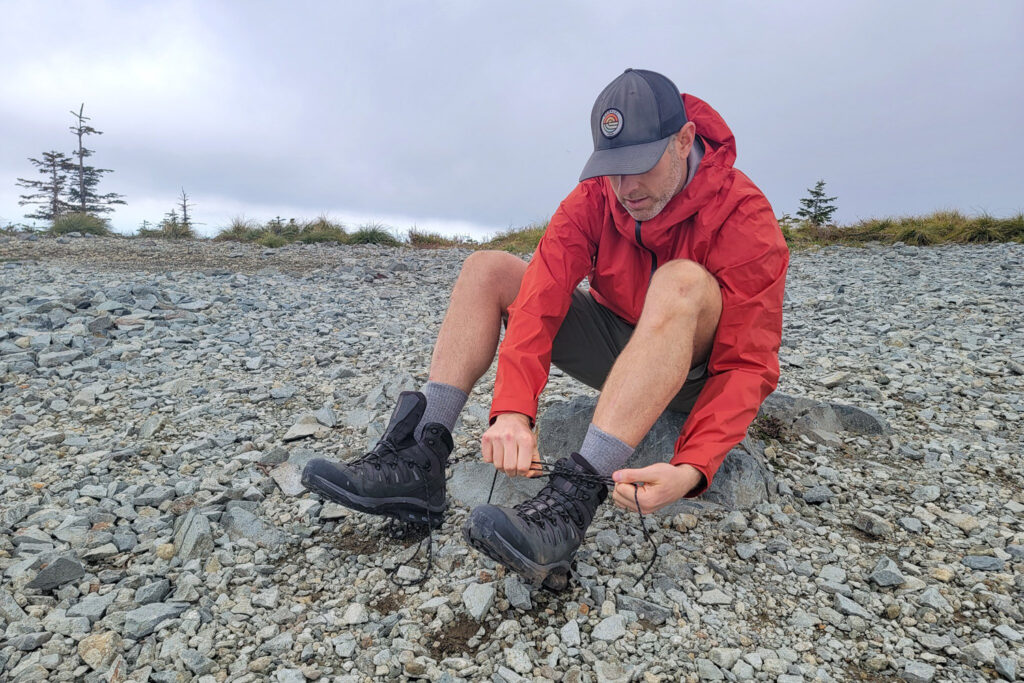
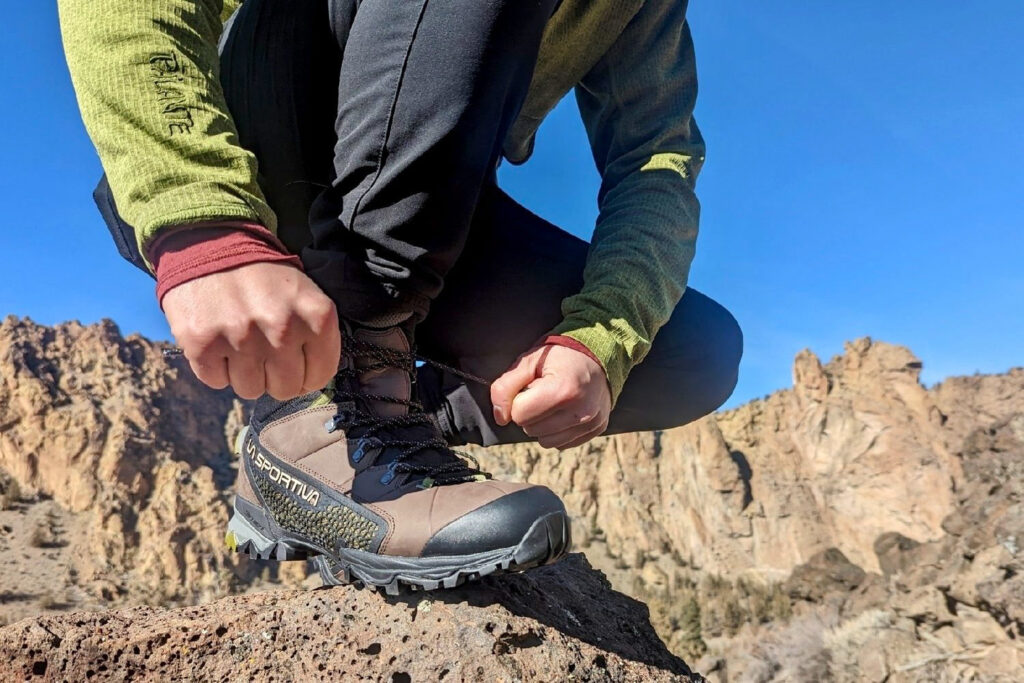
How many ways can you tie your shoes? If you like to hike, you’ll need more than one. Whether you’re a seasoned backpacker or new to the trail, proper lacing can be the difference between a pleasant trek and a painful outing. Tying your shoes for comfort means prioritizing flexibility, support, and ventilation. Keep reading to find the best lacing setup for your hiking boots and re-master the art of tying your shoes.
WHY LACING MATTERS
Everyone’s feet are different, and lacing patterns can accommodate a variety of foot sizes, arch heights, and foot shapes. The right lacing configuration distributes tension how and where you want it. Proper lacing should help ventilate the foot and allow your ankle, heel, and forefoot to flex naturally as you move.
Lacing techniques are an easy way to stay comfortable on the trail. Different lacing patterns create a smarter fit for your foot if you have pain or pressure points. With that in mind, no fancy lacing can fix poor-fitting footwear. Opt for comfortable and sturdy hiking shoes or boots built for the specific terrain you’re exploring. To see our top footwear suggestions for the trail, take a look at our Best Hiking Shoes for Men and Best Hiking Shoes for Women.
LACING TECHNIQUES
Crisscross Lacing
You’ve probably been using Crisscross Lacing since the first grade. It’s the default for everyday shoes and most activities.
Other names: Over-Under, Roman Lacing, Traditional, Cross X Lacing
When to use it: Crisscross lacing is the basis for most other lacing techniques, and chances are high that your shoes are laced this way right now. This method is versatile because it works well for all activities, from casual city walks and everyday shoes to intense sports and long hikes. Crisscross lacing offers a predictable, snug fit and even pressure distribution across the top of the shoe. The biggest con of Crisscross Lacing is it can’t be adjusted if you’re dealing with foot pain, pressure, or a wonky-fitting shoe.
How to lace it:
- Begin – Starting at the toe of the shoe, feed shoelaces through the first set of eyelets.
- Crisscross – Lace your shoes in a crisscross pattern: cross the left lace to the right side and insert it into the second eyelet on the right side. Cross the right lace to the left side and insert it into the second eyelet on the left side. Repeat with the opposite lace to the opposite side. Continue to repeat this pattern, “crisscrossing” the laces from each eyelet.
- Finish lacing – Adjust tension as you are lacing. Crisscross laces to the top of the shoes, then lace through the top eyelets as usual.
- Tie – Tie laces with a simple bow or knot.
- Test – Walk or run to test the fit. Loosen or tighten the shoes as needed.

Surgeon’s Lacing
Surgeon’s lacing is a simple alteration to Crisscross Lacing (or Ladder Lacing, described below) that makes every “crossing” of the laces more secure, and less likely to loosen.
When to use it: Not to be confused with the Surgeon’s Knot (detailed below) Surgeon’s Lacing technique wraps the laces around each other when the laces cross. This adds extra security so the laces don’t move as much, or at all. Surgeon’s Lacing is best used at the top few eyelets or eye hooks before tying a knot, to “lock” the laces at a certain pressure. Surgeon’s Lacing is handy because it can be used in conjunction with any other lacing method in this guide.
How to lace it:
- Begin – Starting at the toe of the shoe, feed shoelaces through the first set of eyelets.
- Crisscross – Lace your shoes in a crisscross pattern: cross the left lace to the right side and insert it into the second eyelet on the right side. Repeat with the opposite lace to the opposite side.
- Wrap as needed – At any intersections where the laces crisscross, wrap one lace around the other 1-2 times. You can repeat this as many times as needed to the top of the shoe, although this is most commonly used at the top 2-3 eyelets (or eye hooks on hiking boots) to keep ankle pressure tight for high-cut hiking shoes or boots.
- Finish lacing – Adjust tension as you are lacing. Lace through the top eyelets as usual.
- Tie – Tie laces with a simple bow or knot.
- Test – Walk or run to test the fit. Loosen or tighten the shoes as needed.
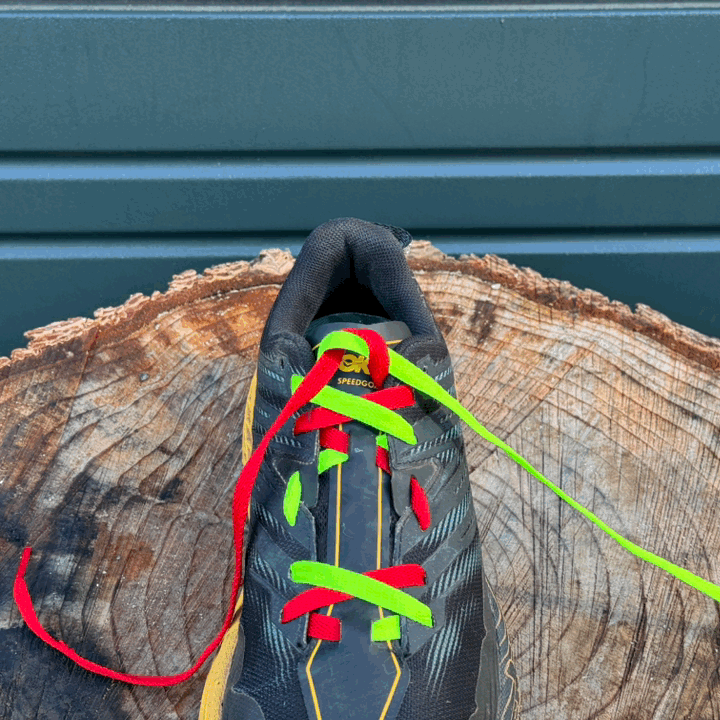
Loop Lacing
Loop lacing relieves pain across the top of the foot. It uses custom, versatile loops between eyelets instead of straight lines to release pressure points, mitigate hot spots, and allow the foot to breathe.
When to use it: Loop Lacing is a great choice for hikers and runners who need to address multiple pain points across the foot. It’s great for high arches or a high midfoot since you can loosen the shoe at specific points on the top to let the foot flex naturally. This pattern can also reduce friction in the toes or heels by allowing more room as the foot lifts. If you have comfort issues with your shoes, loop lacing is for you.
How to lace it:
- Begin – Starting at the toe of the shoe, feed shoelaces through the first set of eyelets.
- Crisscross – Lace your shoes in a crisscross pattern: cross the left lace to the right side and insert it into the second eyelet on the right side. Repeat with the opposite lace to the opposite side.
- Make loops – When you reach the area where you want extra room, create loops at specific eyelets. To do this, thread one lace straight across, then straight up into the next eyelet on the same side to create a loop. Repeat with the other lace on the opposite side.
- Lace through loops – After forming loops, feed the laces from the opposite side through the loops you just formed. Pull the laces tight. Then, resume the crisscross pattern afterward.
- More loops – For multiple pressure points or swollen feet, create several loops. Repeat as needed.
- Finish lacing – Adjust tension as you are lacing. Crisscross to the top of the shoes, then lace through the top eyelets as usual.
- Tie – Tie laces with a simple bow or knot.
- Test – Walk or run to test the fit. Loosen or tighten the shoes as needed.
Window Lacing
Similar to Loop Lacing, Window Lacing alleviates pain and hot spots on top of the foot. The difference is that Window Lacing creates bigger gaps to accommodate larger hot spots, taller arches, or more intense pressure points.
Other names: Box Lacing
When to use it: This is a good option for hikers breaking in their shoes and experiencing foot pain while moving or people with wide feet. Window Lacing forms gaps or “windows” by skipping an eyelet, which helps with ventilation as well. If you have significant pressure points on top of your foot or are craving more ventilation, you’ll benefit from Window Lacing.
How to lace it:
- Begin – Starting at the toe of the shoe, feed shoelaces through the first set of eyelets.
- Crisscross– Lace your shoes in a crisscross pattern: cross the left lace to the right side and insert it into the second eyelet on the right side. Repeat with the opposite lace to the opposite side.
- Form the “window” – After the first or second set of eyelets, run each lace straight across to the eyelet on the opposite side. Then, lace each side to the next eyelet above it (instead of crossing the top of the shoe again). By skipping an eyelet, you create the “window” in your laces. Then, resume the crisscross pattern.
- More “windows” – You can create 1-2 more windows in the lacing if you need less pressure or more ventilation.
- Tie – Lace through the top eyelets as usual. Tie laces with a simple bow or knot.
- Test – Walk or run to test the fit. Loosen or tighten the shoes as needed.
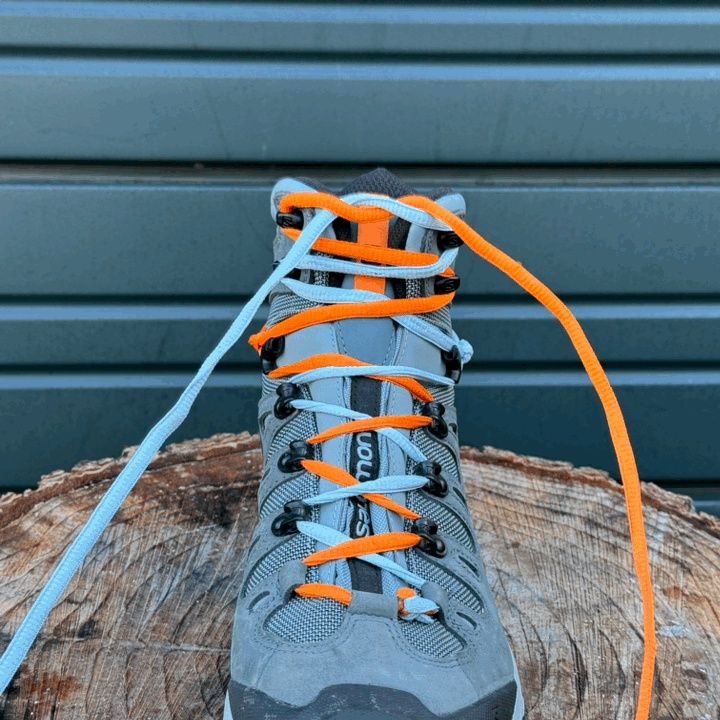
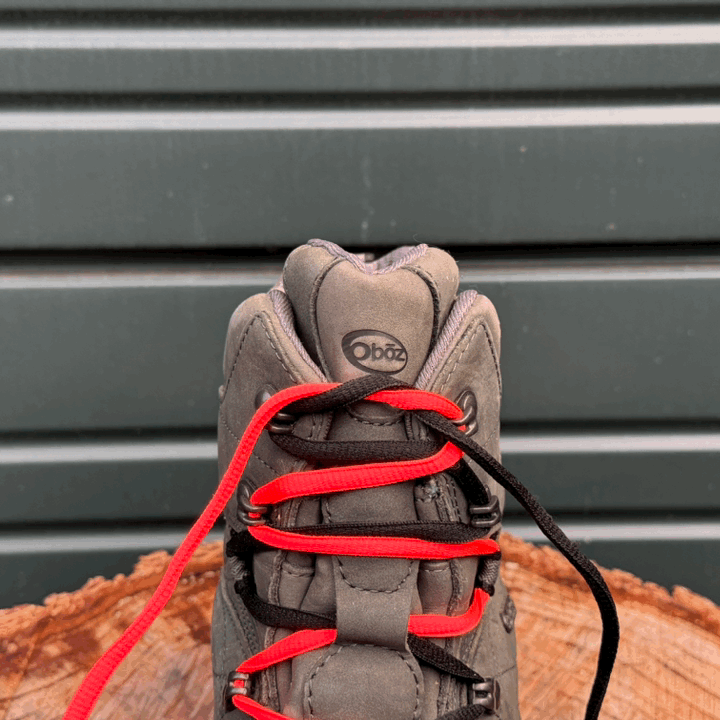
Heel Lock Lacing
Are you dealing with heel slippage or loose shoes? Heel Lock Lacing is your best bet to prevent hotspots and rubbing at the back of your foot. With two simple loops at the top of the shoe, it secures your foot and offers more stability.
Other names: Lock Lacing, Runner’s Lacing
When to use it: Heel lock lacing is popular with long-distance runners, thru-hikers, and backpackers. This pattern is helpful when tackling steep, uneven ground and lots of elevation change. Heel Lock Lacing keeps your shoe tight to your foot, adding both ankle and heel stability. It’s also the best configuration for inflexible soles or a long break-in period since this pattern maximizes contact between the sole of your foot and the sole of the shoe. Though there are lots of great ways to prevent hotspots and blisters, Heel Lock Lacing is a fast and effective tool to help. For more blister prevention tips, see our guide How To Treat Blisters While Hiking.
How to lace it:
- Begin – Starting at the toe of the shoe, feed shoelaces through the first set of eyelets.
- Crisscross– Lace your shoes in a crisscross pattern: cross the left lace to the right side and insert it into the second eyelet on the right side. Repeat with the opposite lace to the opposite side.
- Repeat almost to top – Continue crisscross lacing until the second-to-last set of eyelets on each side at the tongue.
- Make loops – At the second-to-top eyelets, instead of crossing the laces over, make a small loop on each side. To do this, feed the lace back on itself to form a loop. If your shoe or boot has double eyelets set close together, feed the lace through the second eyelet to create a loop.
- Lace through loops – Insert each lace into the loop formed on the opposite side.
- Tighten – Pull laces to tighten the loops. This should cinch the shoe around your ankle and pull the shoe around your heel.
- Tie – Tie laces with a simple bow or knot.
- Test – Walk or run to test the fit. Loosen or tighten the shoes as needed.
Toe Lacing
Whether you’re dealing with toe swelling, forefoot pain, or you just need more flexibility for the front of your foot, we highly recommend mastering a lacing technique specifically for your toes.
Other names: Forefoot Lacing, Ball-of-foot Lacing
When to use it: For anyone spending long amounts of time walking, toe-friendly lacing should be a part of your skill set. Toe Lacing helps your toes breathe and spread out (as much as the shoe allows). It accommodates a wider forefoot. If you’re dealing with swollen or jammed toes, Toe Lacing helps relieve the pressure buildup. A good Toe Lacing technique can reduce the chance of getting black or “dead” toenails that intense movement can cause.
Fast version of toe lacing:
Skip bottom eyelets – For the fastest version of toe lacing, simply skip the first two eyelets near the toe, and start lacing at the second eyelets with the pattern of your choice from there. This will immediately create more room and flexibility, and remove pressure from the toes and forefoot.
How to lace it:
- Begin – Make sure one shoelace is about ⅔ of the length of the other. Starting at the toe of the shoe, feed shoelaces through the first set of eyelets.
- First shoelace – Feed the shorter shoelace from the first eyelet at the bottom of one side directly into the top eyelet on the opposite side. Now, your shoelace should run diagonally across the whole top of the shoe. This allows you to loosen the entire shoe from the toe with a single lace.
- Second shoelace – For the longer, opposite shoelace, feed it directly into the second eyelet of the opposite side, crossing the shoe at an angle. Then, run the shoelace horizontally to the second eyelet on the original side. Repeat this: run the longer shoelace up to the third eyelet of the opposite side, then again horizontally to the third eyelet on the original side.
- Long lace on top – Take care that the “longer” lace always goes over the shorter lace as you work your way up the shoe. This longer lace creates the tension for this pattern, keeping the shoe snug.
- Repeat – Repeat this pattern to the top of the shoe.
- Tie – Put longer lace through the top eyelet as usual. Tie laces with a simple bow or knot.
- Test – To loosen the toe area, untie the shoes and loosen the “shorter” lace that runs diagonally from toe to tongue beneath the “longer” lace. Since it’s directly connected to the eyelets at the toe, you can now easily loosen the lacing at the forefoot. Walk or run to test the fit. Loosen or tighten the shoes as needed.
Ladder Lacing
The straight-across repetition of the laces, paired with the laces sitting outside the eyelets, gives the shoe a “ladder” look. But Ladder Lacing is not just for aesthetics. It allows you to tighten your laces to a specific pressure at small intervals across the top of the foot.
Other names: Straight Bar, Fashion Lacing
When to use it: Ladder lacing is popular for locking your laces securely in place. It works well for hikers who don’t like to re-lace their shoes at all. If you know exactly how you like your laces positioned and don’t want them to move or loosen throughout the day, this pattern is a good option. This technique is also popular with folks who have wider feet or toe pain since it can give more control over how much pressure or how tight laces are across the top of the foot. Ladder Lacing is often used in the military because it’s so secure. It’s not as easy to adjust as others on this list, so be careful to tension laces as you go.
How to lace it:
- Begin – Starting at the toe of the shoe, feed shoelaces through the first set of eyelets.
- Up one eyelet – Feed your lace through the second set of eyelets on the same side so it enters on the outside of the shoe. The aglet should be pointed inside towards the opposite side. Do this on both sides.
- Straight across – Next, feed each lace through the second eyelet on the opposite side. The laces should be fed through the same eyelet you just used for the opposite lace. Set the laces so they sit flat on top of the other for a clean look. This is the first “rung” of the ladder.
- Optional looping – You can also put shoelaces through the loops formed on the outside of the shoe and tighten, but this would be similar to Loop Lacing (the second technique we discussed above). When tightened, these loops can be adjusted to relieve pressure.
- Repeat to the top – Repeat this process: up one eyelet on the same side, through the same holes on the opposite side for a “ladder”. Continue to the top set of eyelets on the shoe.
- Keep it clean – “Clean” the laces for extra stability by making sure they aren’t folded or twisted.
- Tie – Tie laces with a simple bow or knot.
- Test – Walk or run to test the fit. Loosen or tighten the shoes as needed.
KNOT TECHNIQUES
Standard Knot
The standard knot is probably how you’ve tied shoelaces since you first learned.
Other names: Bunny Ears, Loop Knot, Loop, Swoop and Pull
When to use it: This is the most common and practical way to tie everyday hiking and running shoes. The Standard Knot is a secure, balanced knot that’s easy to tie since it’s already habit for most people. However, the Standard Knot is unreliable because it comes apart easily over time. For long adventures, it will likely need to be re-tied or adjusted several times.
How to tie it:
- Starting position – Form a starting knot by wrapping the left lace around the right lace once.
- Form a loop – Form the right lace into a loop.
- Wrap it around – Wrap the left lace first around the back, then the front, of the loop you just formed with the right lace.
- Push the lace through – Push the left lace through the hole formed at the bottom to create another loop.
- Pull both loops – Pull the left lace loop and the right lace loop at the same time to tighten.
- Optional repeat – Repeat steps c to e again to add extra security to this knot.
- Tighten – Clean the knot. Make sure loops and ends are approximately the same length, and the knot is tight.
Surgeon’s Knot
This knot prevents your laces from coming undone by adding an extra loop to the standard knot.
Other names: Sherpa Knot
When to use it: This is the technique surgeons often use when they’re tying off sutures, since it maintains tension through the whole stitching system without coming undone. It’s a highly effective knot if you want a one that’s familiar, but stronger and more durable than the standard.
How to tie it:
- Starting position – Form a starting knot by wrapping the left lace around the right lace once.
- First loop – Make a loop out of one lace.
- Loop the loop – Wrap the opposite lace behind the loop on the first lace and around it to the front.
- Through – Push the opposite lace through the hole formed at the bottom. Form a second loop.
- Through again – Wrap the newly formed second loop back through the hole again.
- Loop toe loop again – Pull the second loop all the way through the hole for the second time.
- Tighten – Pull both ends of the laces and loops to tighten the knot.
- Clean and stage – Make sure the knot is secure, loops and ends are mostly equal in length, and laces are out of the way.
Double Slipknot
This is a less popular but seriously effective knot that, once set, rarely comes undone. It’s a great “set-it-and-forget-it” knot.
Other names: Quick-Release, Draw Knot, Ian Knot
When to use it: A Double Slipknot may be too much for casual shoes but this is a great one to master for endurance sports and long hikes. It works well for low-tension laces and is a reliable option when your shoes just won’t stay tied, since an effective double slipknot is strong. As a bonus, Double Slipknots still come apart quickly – but only when you’re ready.
How to tie it:
- Starting position – Form a starting knot by wrapping the left lace around the right lace once.
- Form two loops – Form the right lace and the left lace into separate loops.
- Cross the loops – Cross one loop over the other.
- Wrap left over right – Wrap the left lace loop first around the back, then the front, of the right lace loop.
- Wrap right over left – Wrap the right lace loop around the back of the left lace loop.
- Push the loops through – Push the left and right lace loops through the hole formed at the bottom.
- Pull both loops – Pull the left lace loop and the right lace loop at the same time to tighten.
- Tighten – Clean the knot and make sure the loops and ends are approximately the same length and the knot is tight.
TIPS FOR OPTIMAL LACING
Experiment – Different shoes and activities require different lacing techniques. We recommend trying lacing patterns to find the best one for you. Lacing helps cater footwear around your foot shape. If you’re dealing with issues like bunions, hammertoes, or wide feet, try new lacing techniques to make your shoes work for you.
Use quality laces – Shoelaces are as much about fashion and aesthetics as they are about functionality and activity. If your hiking shoe laces are too short, stiff, or difficult to tighten, it’s time to replace them. Swap out old laces that are worn or unraveling for a better fit. Look for more durable, high-quality laces that don’t fray or break easily.
Don’t over-tighten – If your laces are too tight, they can cut off circulation to your feet and injure your ankles. Tight shoes can often cause more problems than they fix. Be patient when re-lacing as you find the Goldilocks zone between too loose and too tight.
Give your toes a break – Space around your toes is important. If they’re tightly squished together, you could end up with hot spots, damaged nails, and compounding injuries. Make sure your lacing gives toes room to move naturally and breathe to avoid discomfort.
Lock the lace ends – When your lace ends are loose, they’re more likely to become untied, get caught on objects, and trip you up. Tuck laces into your shoes or back into the lacing pattern to stop them from flopping around while on the trail.
Check and adjust – Laces are only as good as they are secure. Remember to check and adjust laces and knots during a hike to keep your footwear feeling stable and comfortable on roots, rocks, or dirt.
Try other lacing systems – These days, traditional shoelaces are not the only option. If you’re tired of traditional laces options like Velcro, slip-on designs, and single pull-tab systems might be a better fit.
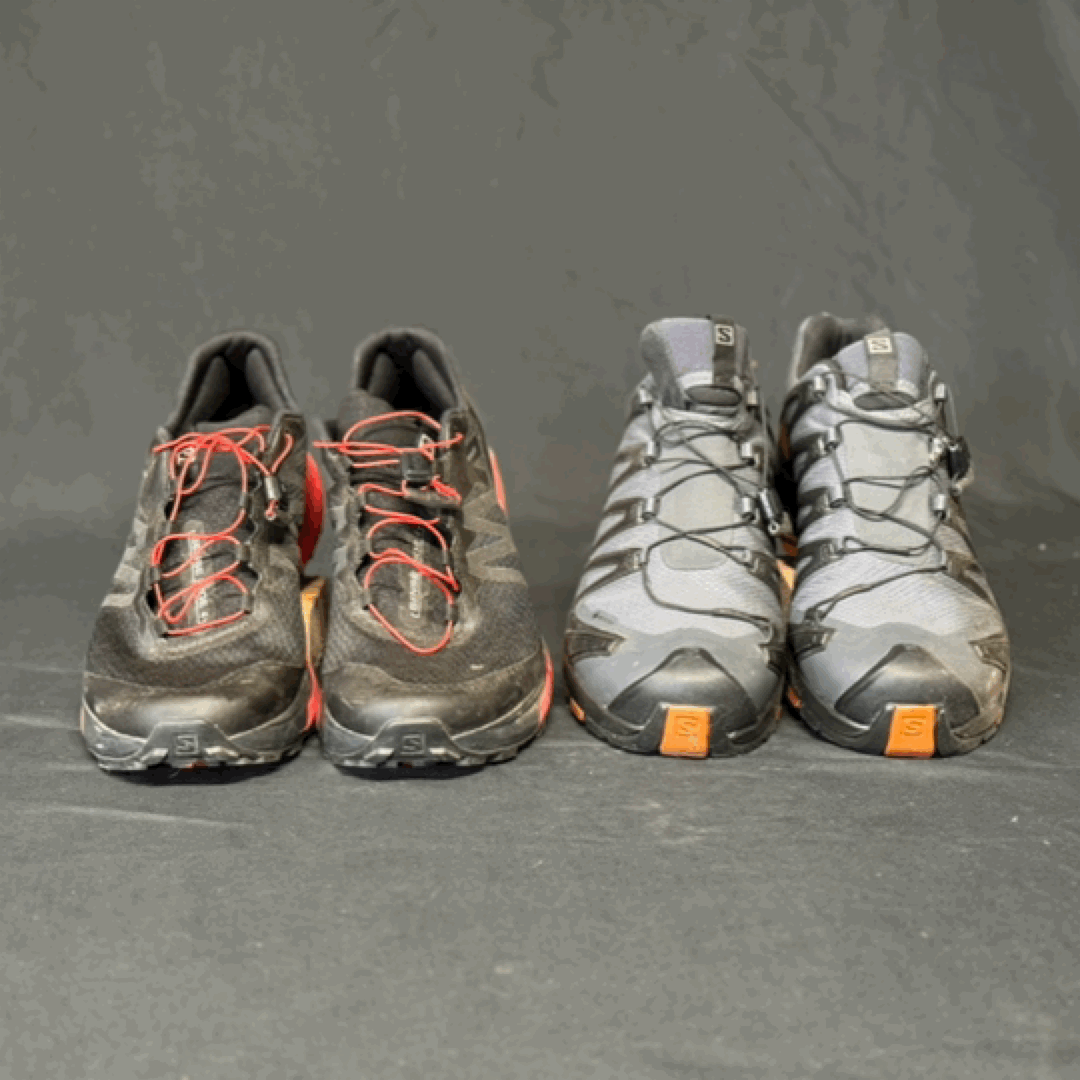
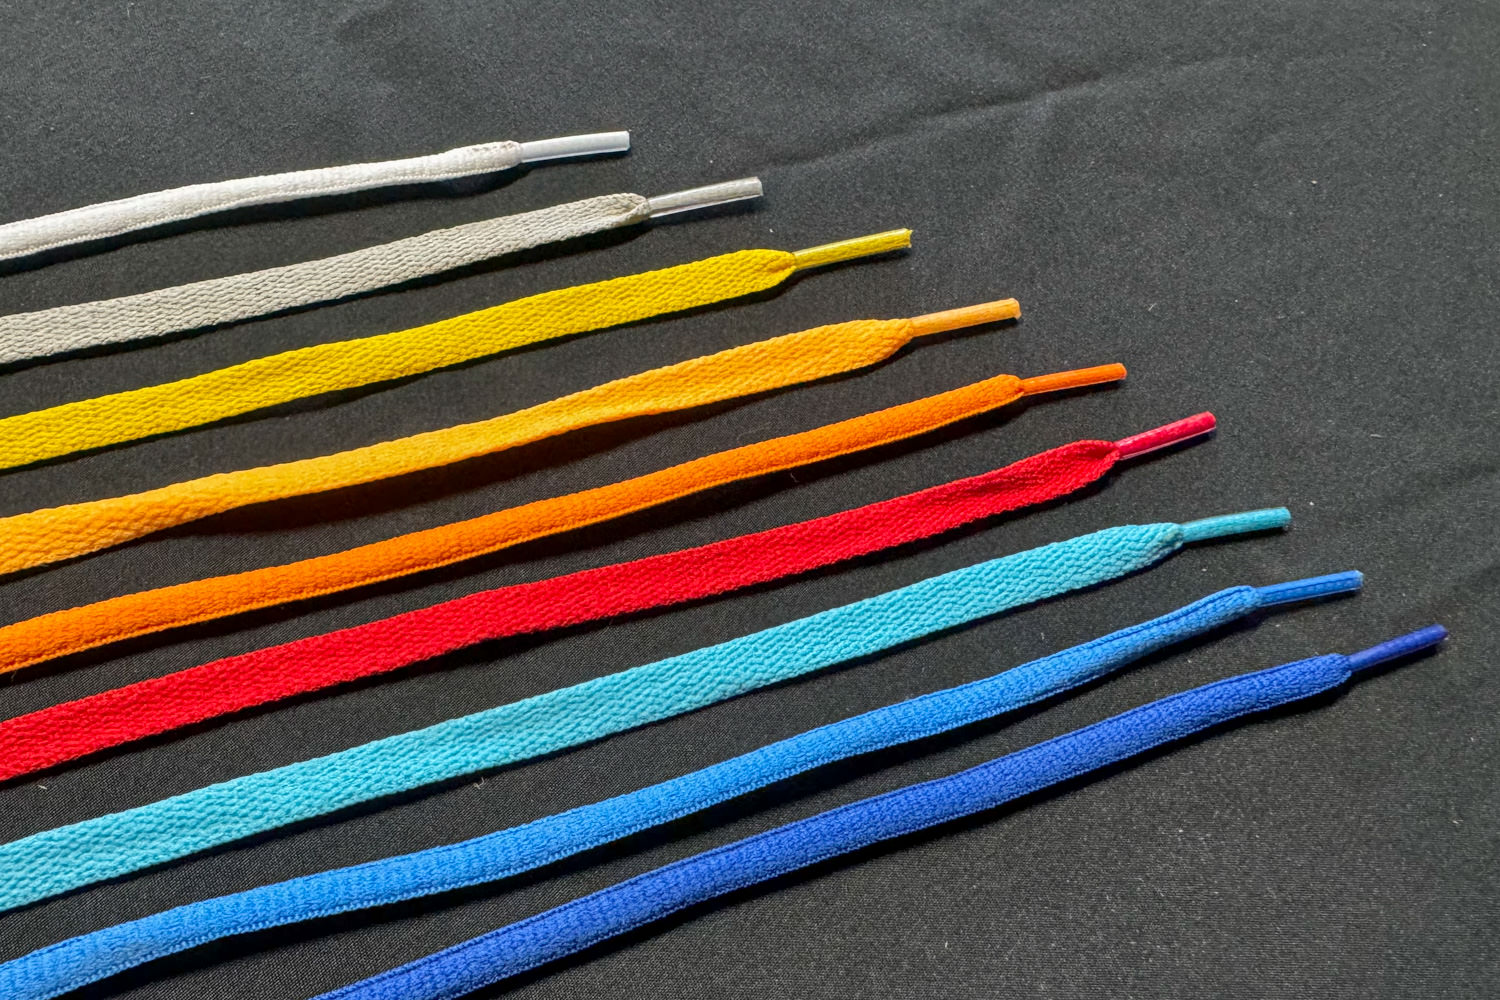
CHOOSE THE RIGHT LACES
Flat laces – Flat laces are wide but not thick. They are most commonly found on everyday and casual shoes. Flat laces are usually less durable and don’t handle wear and tear as well as round laces. They do tend to hold a knot better, but often that’s because of the material they’re made from (usually cotton) more than the shape.
Round laces – Round laces are regularly used in athletic and hiking shoes. The cylindrical shape is durable since there are no edges to fray and tangle. Round laces like thin paracord often have a “core” – a different material on the inside that makes them stronger – and a “sheath” on the outside made of durable material like nylon or polyester so they shed dirt and moisture more easily.
Material – Shoelace material is important to determine how easy your laces are to tie, how much water they hold, and how long they last.
- Cotton – The standard for most shoe laces. Cotton is comfortable and eco-friendly for everyday shoes, but it is absorbent, and not as durable as other options.
- Kevlar weave – Easily the most durable material being woven into current lacing is Kevlar. These laces tend to be lightweight but impressively long-lasting and abrasion and water-resistant. However, they’re very expensive and can be stiff for a long time.
- Polyester – Polyester laces are durable and resistant to abrasion. Polyester is the basis for popular materials like Taslan. However, like Kevlar, polyester laces can be stiff and are less likely to stay in a knot.
- Nylon – Nylon is strong and moisture-resistant. Nylon laces are very versatile with uses from climbing shoes to soccer cleats. Nylon is the main textile in laces like popular hiking options like paracord, round laces, and Cordura. The downside of Nylon laces is they can be slippery.
Stretch factor – The stretchiness of your shoelaces matters for the type of shoe you wear and what activity you’re doing. Static shoelaces are ideal for hiking boots. They have very little stretch, so they offer a custom fit that stays exactly the way you tie them. This is helpful on demanding hiking trails where a firm, secure fit will prevent movement within the boot and reduce the chance for injury, like backpacking on rugged mountain trails with rocks and uneven surfaces.
Stretchier laces are desirable for trail running and lightweight hiking shoes. Although they will need to be readjusted periodically as they move with your foot, they offer a more comfortable and forgiving fit by allowing the foot to stretch and move naturally. A stretchy lace allows for faster, more precise lacing to accommodate injury and fatigue, and can be quickly loosened for breathability in hot weather.
Waxed – Waxed laces are primarily found on casual and formal footwear, but are not uncommon on hiking and mountaineering boots. Since the wax coating sheds water and is less likely to fray over time, waxed laces tend to be more water-resistant and durable. However, they are not as flexible as other types of laces and don’t hold a knot as well thanks to the slippery surface tension. In general, we recommend avoiding waxed laces for hiking.
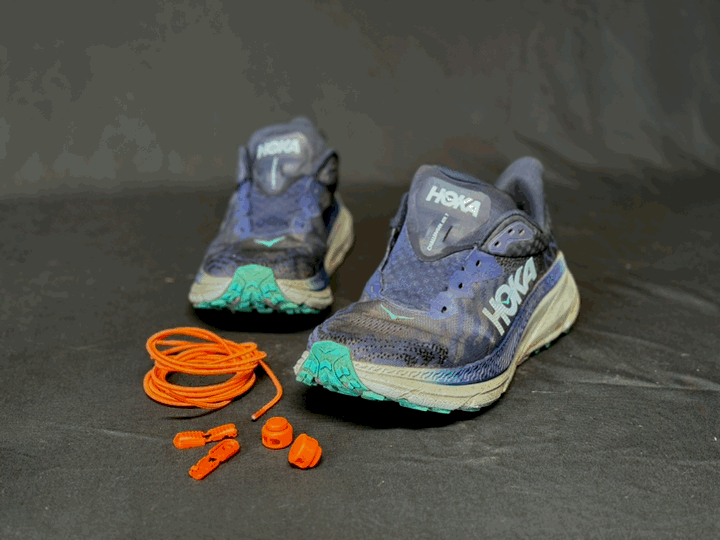
Alternative laces – There are other closure systems for shoes besides shoelaces. Consider Velcro straps, zippers, buckles, or laceless slip-on designs to find the right closure system for your needs. Elastic cord systems with a pull-tab fastener are especially popular in many hiking, athletic, and kids’ shoes.
SHOE SELECTION GUIDE
Low-cut shoes
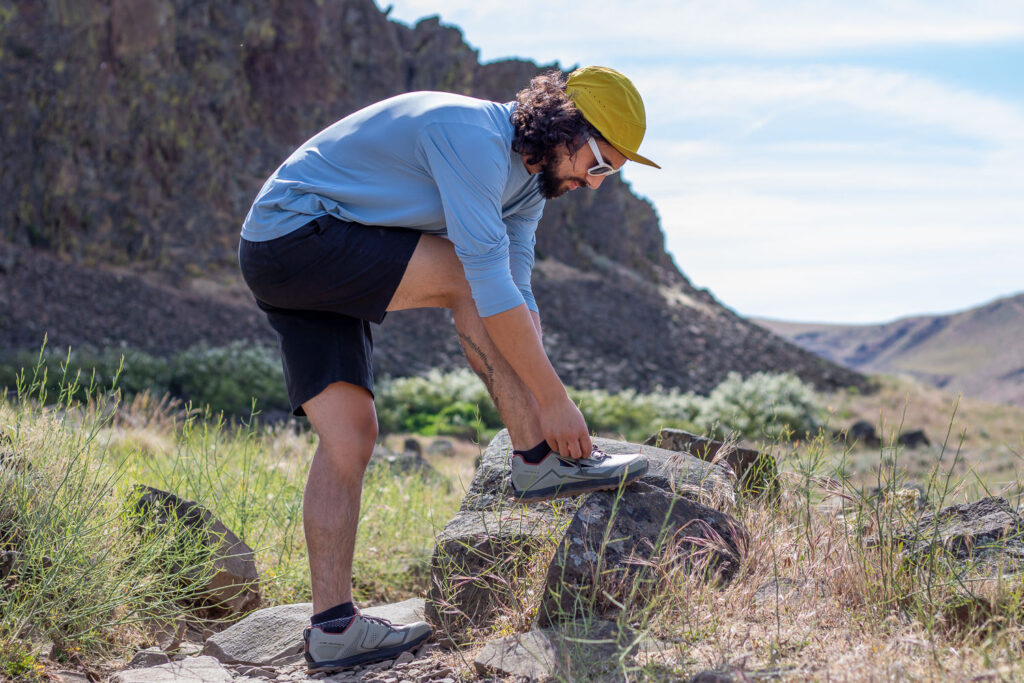
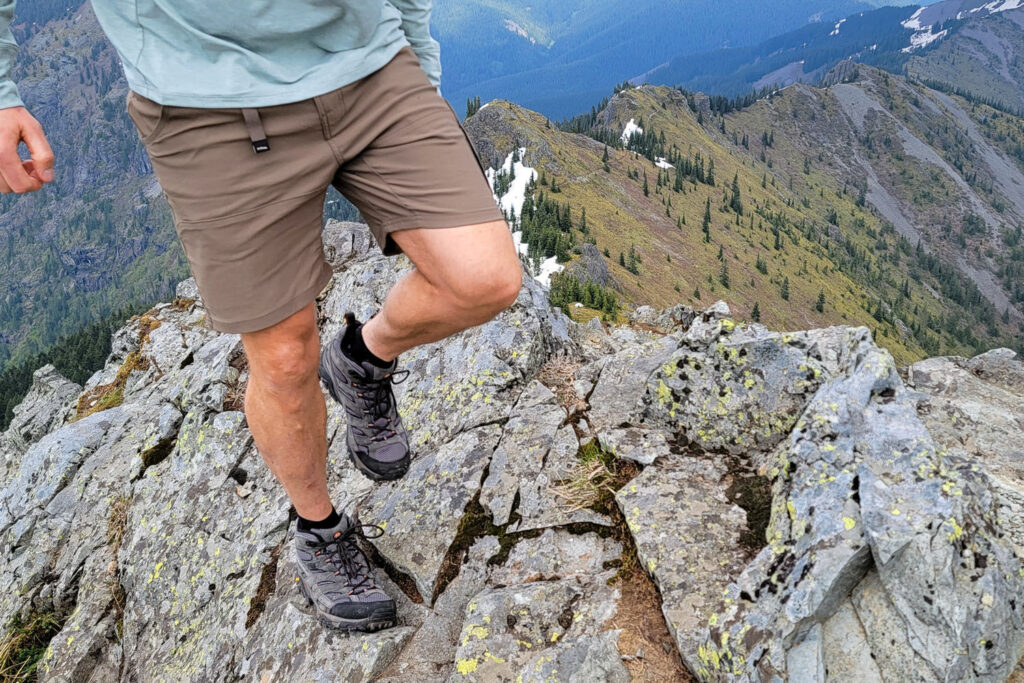
Low-cut shoes include trail runners and some hiking shoes. Usually, low-cut hiking shoes are more breathable, dry faster, and weigh less than mid-cut and high-cut options. They are designed for nimble and fast movement over less technical terrain in spring, summer, and fall conditions. However low-cut shoes offer limited ankle support, less foot protection overall, and are generally less effective than high-cut shoes in wet and cold conditions.
- Best lacing techniques – Crisscross, Window, Heel Lock
- Our top choices:
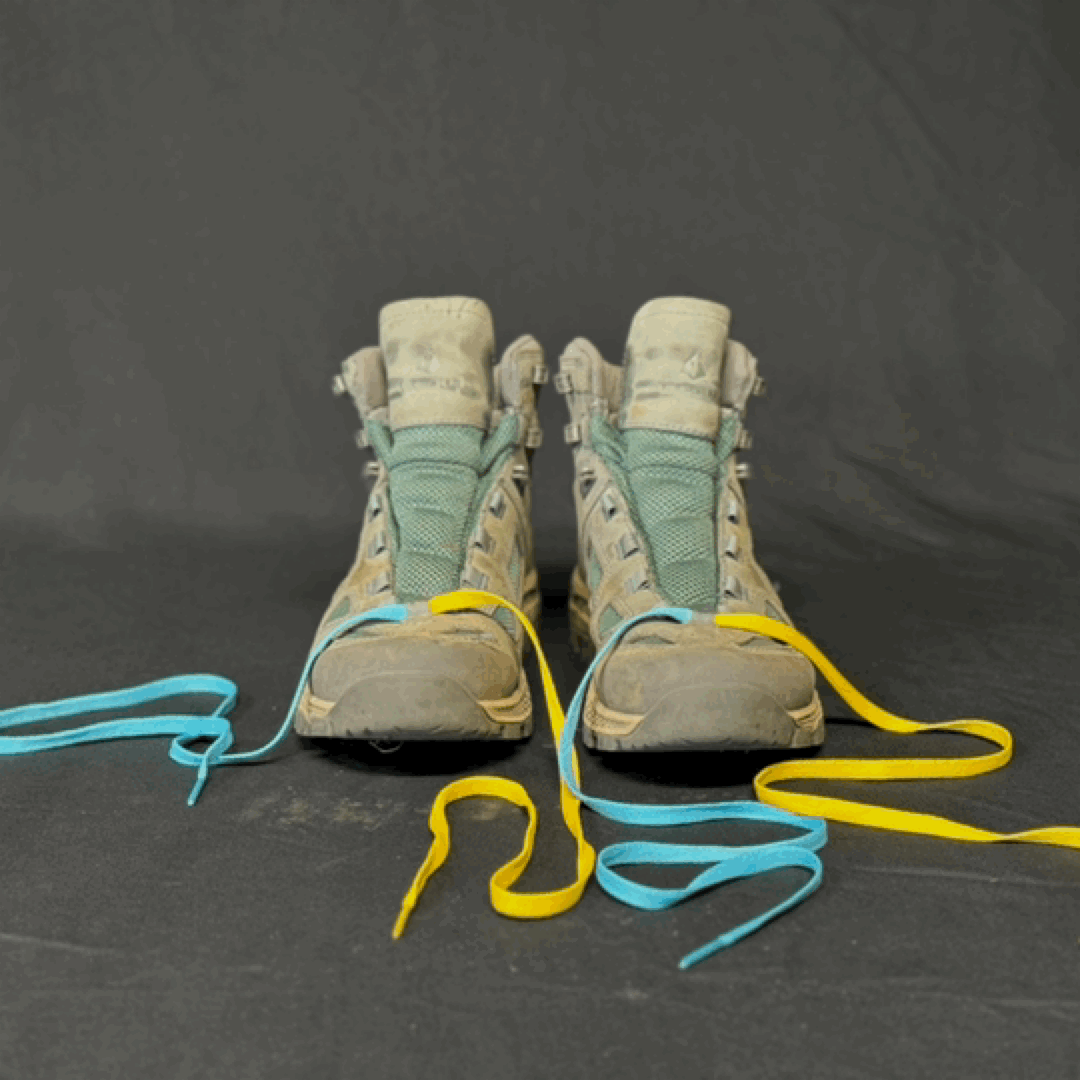
- Saucony Peregrine 14 (Men’s / Women’s) – An effective, lightweight trail shoe with a low-cut design, all these shoes need is the perfect lacing pattern for you to tackle miles of backcountry.
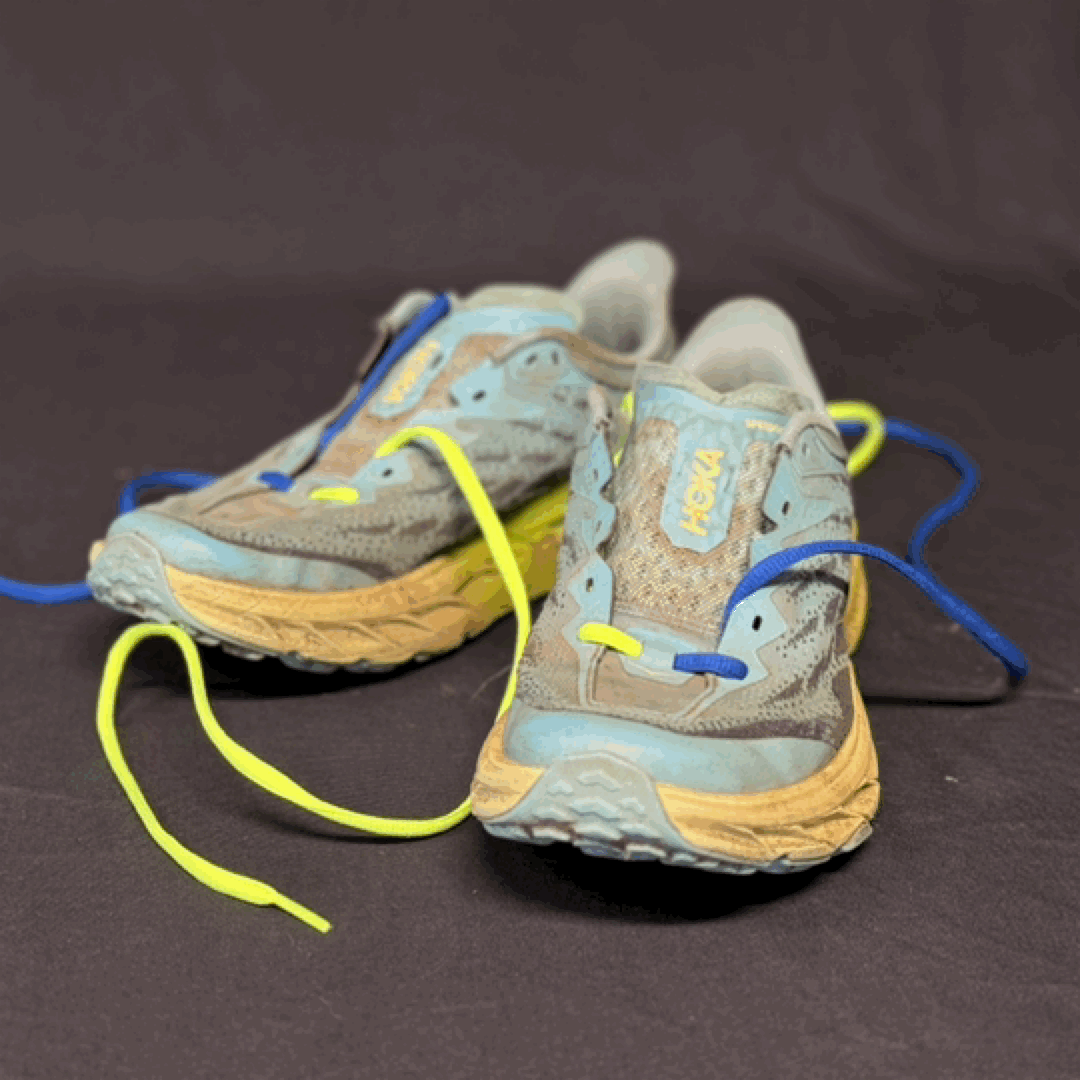
- HOKA Speedgoat 5 (Men’s / Women’s) – The Hoka Speedgoats are known for their burly tread and supportive foam soles. A smart lacing and knot combination would make these even more comfortable.

Mid-cut shoes
Mid-cut shoes come up to your ankle. They balance ankle support and freedom of movement since the higher cuff offers more protection for the foot in underbrush while offering moderate agility. Mid-cut hiking shoes can usually handle more wet weather and muddy terrain than low-cut shoes. They’re often heavier and less breathable as well. Because they typically have an extra set of eyelets at the ankle versus hiking shoes, there is a wider variety of lacing options.
- Best lacing techniques – Crisscross, Loop, Window, Heel Lock, Toe, Ladder Lacing
- Our top choices:
- Topo Athletic Trailventure 2 WP – Topo hit the nail on the head with mid-rise shoes that cover the ankle and offer more stability than low-cut shoes, but still offer a wide toe box and excellent traction.
- Merrell Moab 3 WP – The Moabs are a classic mid-cut hiking boot, effectively combining comfort and support with a low price tag. They are popular for their comfort, wide sizing, and stability.

High-cut shoes
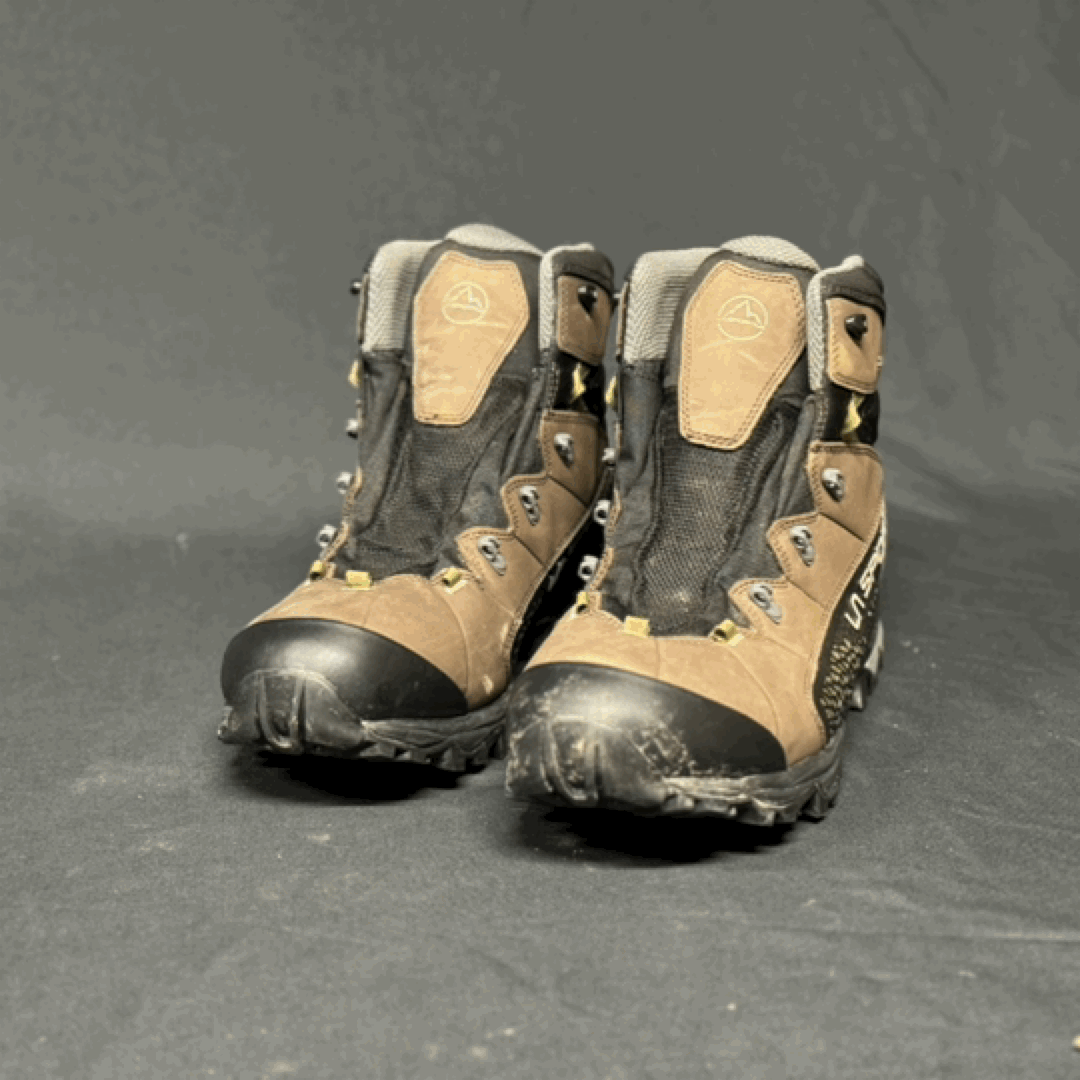
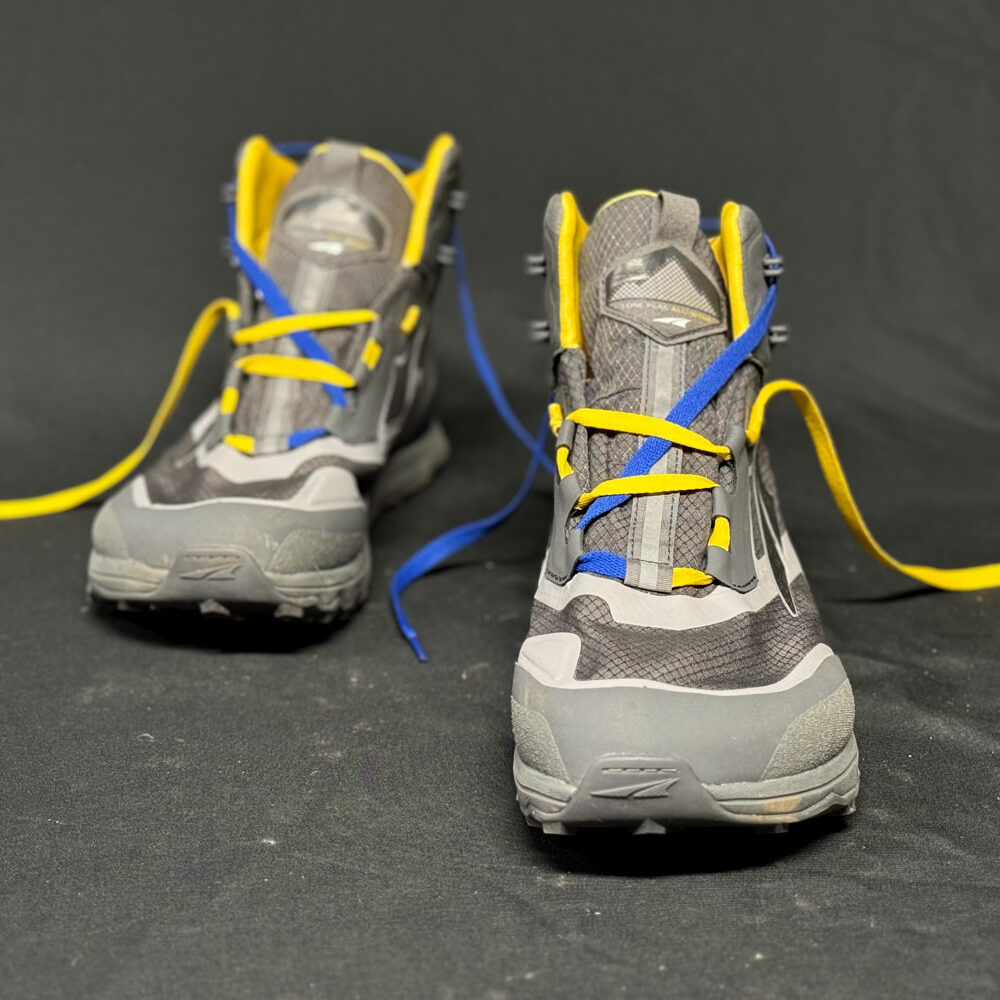
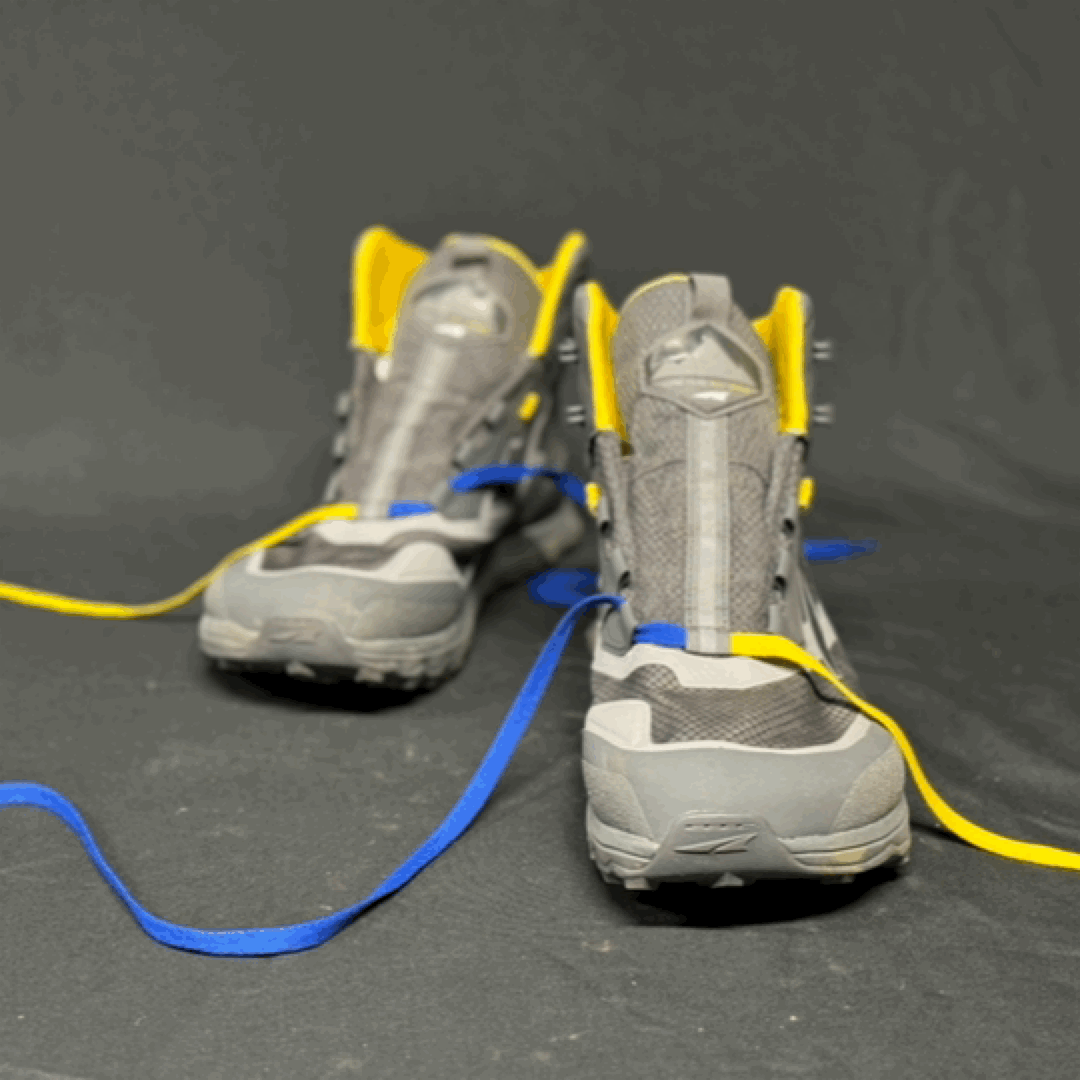
When it comes to high-cut shoes, think of traditional hiking boots. They extend over the ankle. Boots are often insulated for the weather and are typically the most versatile for cold conditions and extreme wet and off-trail conditions. Because they are taller and bulkier, high-cut shoes tend to be heavier, hotter, and more cumbersome than lower-cut options. However, high-cut options usually offer the most control with lacing. Taller boots mean more eyelets and eyelet hooks, to make for adaptable lacing patterns and the most customized fit.
- Best lacing techniques: Crisscross, Loop, Window, Heel Lock, Toe, Ladder Lacing
- Our top choices:
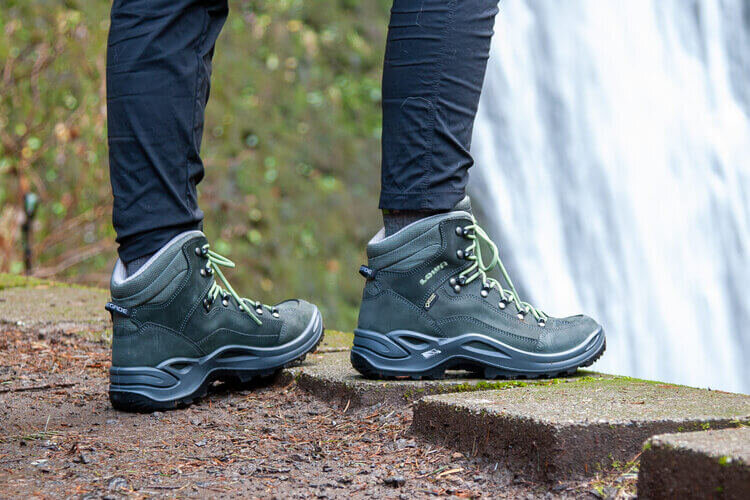
- Lowa Renegade GTX – These shoes are super durable, offer excellent ankle and foot protection, and work well with any lacing or knotting technique.
- Vasque Breeze – Another high-performing, high-cut hiking boot that can handle almost any trail conditions and most weather.
BOTTOM LINE
Proper lacing is crucial when you’re hiking. When our feet are comfortable we move faster, for longer, and with more energy. Whether you use Crisscross Lacing for stability or Heel Lock Lacing for extra support, the right method will only improve your time on the trail.
Try several lacing patterns to find the best fit for your feet. The right one can address specific foot problems. And, when paired with a strong knot, you’ll mess with your shoelaces less and focus on your adventures more. To extend the life of your shoelaces – and your footwear – consider a regular cleaning routine, especially after muddy hikes.
Knowing how to lace and knot your shoes in multiple ways directly translates into a better hiking experience. The more lacing techniques you master, the faster you can leave foot pain, hot spots, and fatigue in the dust.
MORE INFORMATION
Was this guide helpful for keeping your hiking boots clean and fresh? Leave us a comment if you have any recommendations, questions, or suggestions. Or, visit us on Facebook and Instagram to stay updated with the latest and greatest in hiking gear and current trends.
Be sure to check out the CleverHiker Gear Guide where our team of experts tests and reviews the best outdoor adventure equipment on the market – so you don’t have to. Here are other articles you might like:
[ad_2]
Read More: How to Lace Hiking Boots & Shoes | CleverHiker

